Four Photoshop Hair Cut Out Tutorials
Since creating my first article looking at Photoshop hair cutout tutorials, most of the feedback I've received, although positive, has pointed out that the background of the test image I chose was, in fact, white. This was a best-case scenario as far as complex image extraction was concerned, and didn't work as cleanly on images with more complex backgrounds.
For the next tutorials, I decided to dig up three of the potentially hardest hair images I could find to cut out - and work out the best way to go about extracting the subjects from their respective backgrounds. What I discovered pretty quickly on this quest was that no single method was perfect for any image. There are (as ever) a number of ways to approach this topic, and my tutorials cover four possibilities:
- Using Blending Options to hide a white background
- Using the Blending Mode Menu in the Layers palette in conjunction with Replace Color and Levels
- Using the Color Channels to identify areas of distinction
- Using the Vertus Fluid Mask Photoshop plugin to do much of the work for us
Tutorial #1
Photoshop Hair Cut Out - Using Blending Options
This tutorial shows how to do a hair cutout in Photoshop using Blending Options in the Layers Palette. This technique is best for images that have a plain or (preferably) white background - which was perfect for my project at the time. Usually, though, the images need more work... which is why I created the next three tutorials (the last one including working with Vertus Fluid Mask).
Tutorial #2
Photoshop Hair Cut Out - Using Replace Color and Levels
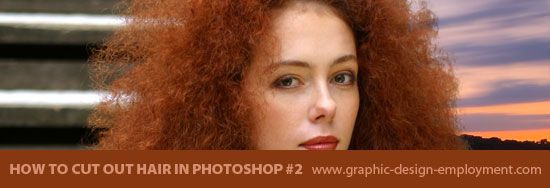
This one's a tutorial on how to cut out hair in Photoshop using (mainly) a combination of Replace Color, Levels and the Blending Options Menu. The hair is very fine and frizzy, and when you factor in the nightmarish background, this is one of the hardest.
Tutorial #3
Photoshop Hair Cut Out - By Merging Channels and using Dodge & Burn
Tutorial 03 features an image which has a complicated, multicolored, patterned background working against us. Luckily however, the hair color is very dark, so this helps to create a cleaner mask. By selecting the areas of strong contrast in the Channels and merging them, we get much closer to a usable mask without doing much work.
Tutorial #4
Photoshop Hair Cut Out - Using Vertus Fluid Mask
Tutorial 4 demonstrates how to use Vertus Fluid Mask (which is a replacement for the old Photoshop Extract Tool) to extract an image (and hair) from a background.
Resources & More Information
- Vertus Fluid Mask 3
- Photoshop Cutouts that Blend
- Return from Hair Photoshop Cut Out Tutorials to Home
- Free and Royalty Free Stock Images


